DIY Guide: How to Replace Faucet Valve Seats
Believe it or not, a leaky fixture can pour out over 3,000 gallons of water each year! That volume could fill a kiddie pool! Fixing worn-out components saves money and conserves water—no plumbing experience needed.
Our step-by-step guide keeps it straightforward. Armed with tools and parts from Installation Parts Supply, you’ll fix drips quickly. Dodge high plumber bills and achieve a drip-free home with valve seat faucet.
Use our detailed steps for a hassle-free repair. Quality materials ensure lasting results, and you’ll gain confidence tackling future projects.
Major Highlights
- Leaks waste water and increase bills—quick fixes prevent damage.
- DIY repairs save money compared to hiring a professional.
- Premium parts from Installation Parts Supply stand the test of time.
- Simple tools and clear steps make the process beginner-friendly.
- Consistent upkeep keeps fixtures working longer.
The Importance of Replacing Faucet Valve Seats
A small drip might seem harmless, but it can lead to big problems. Deteriorated parts drain water, raise costs, and threaten your home. Early repairs cut costs and maintain smooth operation.
How to Identify a Bad Valve Seat
Look out for:
- Water drips despite a snug handle.
- Variable water pressure and uneven spurts.
- Corrosion spots or pitting on metal.
For example, a kitchen leak disrupts cooking and stains sinks. Timely action prevents bigger headaches.
The Mechanics of Valve Seat Wear
Scale buildup plus friction break down components. Microscopic cracks let water leak through. Left unchecked, valve seat corrosion can ruin the entire fixture.
Count on Installation Parts Supply for robust parts. Their components fend off scale and maintain a solid seal.
A fast leaking faucet repair shaves up to 3,000 gallons off your annual usage!
Required Tools & Parts
The right kit makes for a durable, leak-proof repair. No matter the leak size, these supplies cut effort and fuss. Collect the following tools and parts:
Must-Have Tools for Valve Seat Replacement
Essential plumbing tools:
- Adjustable wrench—to loosen retaining nuts.
- Valve-seat wrench for seat extraction.
- Screwdriver set—to remove handles and screws.
- Pliers—to hold and remove pins.
A grinding tool helps smooth out rough seats. Stock a faucet repair kit that includes seats, washers, O-rings.
Parts Sources
Avoid cheap parts that fail fast. Count on Installation Parts Supply for reliable nationwide shipping. Their repair kits bundle all necessary parts plus guidance.
| Must-Haves | Optional (For Advanced Jobs) |
|---|---|
| Adjustable wrench | Seat grinding tool |
| Seat wrench | Heat source |
| Faucet repair kit | Pipe cutter |
Investing in reliable tools and parts pays off. Your fixtures will stay leak-free longer.
Valve Seat Replacement Steps
Stop wasting water with this simple DIY fix anyone can master. Whether you’re a beginner or a seasoned DIYer, these steps ensure a smooth process. Gather your tools and let’s get started.
Step 1: Cut Water & Take Apart
Locate the shutoff valves under the sink and turn them clockwise. Turn the faucet on to drain any water left. Use a screwdriver to remove the handle, then unscrew the retaining nut with an adjustable wrench.
Pro Tip: Mark each piece with tape for easy reassembly. Installation Parts Supply offers anti-rust nuts for long-term durability.
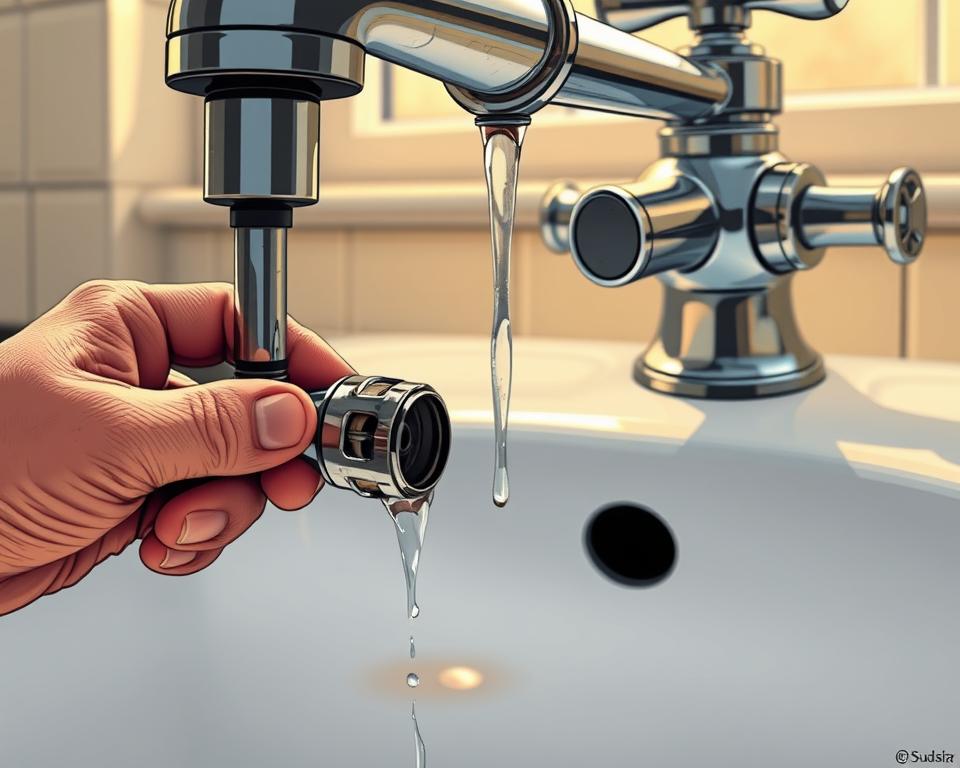
Step 2: Remove the Old Valve Seat
Inspect the assembly for corrosion. Use the seat wrench to back out the damaged seat. If stuck, spray penetrating oil and let it soak for 10 minutes.
| Typical Issues | Fixes |
|---|---|
| Seized seat | Use heat (carefully) or a locking plier |
| Damaged threads | Swap out the housing assembly |
Step 3: Fit New Seat
Wire-brush the hole to clear corrosion. Thread in the new seat from Installation Parts Supply and start by hand. Tighten carefully to avoid stripping.
Step 4: Put It Back Together & Test
Reattach components in reverse order. Turn the water back on slowly. Inspect for drips and gently tighten as required. Nailing this DIY faucet repair keeps your bills low!
Conclusion
Your home deserves hassle-free plumbing that stands the test of time. Fixing worn parts early saves water, cuts bills, and prevents costly damage.
With this guide’s clear steps, anyone can tackle the job confidently. Installation Parts Supply parts deliver longevity and leak protection.
Keep your faucet in top shape by checking washers each year and snugging handles. Small efforts now avoid big repairs later.
Ready to put your skills to work? Grab your tools, follow the steps, and enjoy a drip-free home today!